Curved Poly
Intro
General Features
version 1.3 News
about the Shadow Framework
Setup
How to Start
Editor Interface
Editor Windows
Tools Sets
Assets
Assets Worflow
Game Objects
Assets Upgrade to 1.3
Common Tools
Selection
Hiding and Visibility
Parts List
Shape Tools
Selection Transform
Backgrounds
Handles and Edges
Polygons
Shaping Options
Tessellation
LoDs Assets
Hints (A to P)
Composition Tools
Primitives
Custom Parts
Compositing
Materials Tools
Unwraps Tools
UV Panel
Advanced Shape Tools
Shape Edit Tools
Shapes Customization
Cutting and Splitting
Making Shapes
Exploiting other Tools
Issues and Fixing
Curves and Surfaces
Free Paths
Parametric Curves
Generating Surfaces
Update Surfaces
How to Start
There are multiple ways to start modeling with Curved Poly. Let's look for the Editor Window you can find in Tools, Curved Poly.

Fig. 1 Accessing the main Editor Window. From the same menu you can open any other window in Curved Poly.
Curved Poly Editor is organized in different Tool Sets, which are
activated with the icons you can find here in the Editor. Since we have no Curved Poly models, the ![]() Game Objects Tools Set is the only one being active.
Game Objects Tools Set is the only one being active.
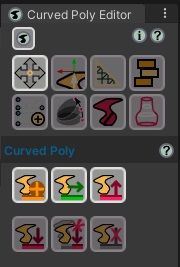
Fig. 2 Curved Poly Editor Window, the first time you open it. Since there are no Curved Poly active, most of the Tool Sets, the ones in the upper part of the editor, are disabled. Game Object Tools are available to start generating new Curved Poly Game Objects.
This ToolsSet has a some available actions that are used to generate
new Curved Poly Models. Let's start with ![]() Import. We can import a copy of any
Curved Poly Asset available in the project into the scene. Curved Poly comes with a huge range of starting shapes and sample models you can get started with.
Import. We can import a copy of any
Curved Poly Asset available in the project into the scene. Curved Poly comes with a huge range of starting shapes and sample models you can get started with.
For instance let's copy the cup. A very simple shape.
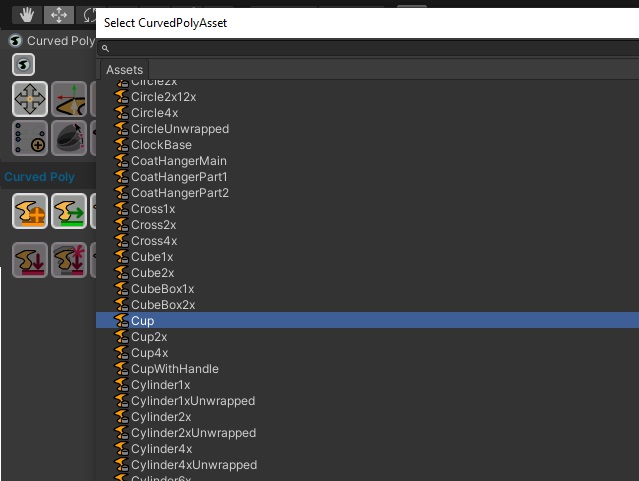
Fig. 3 There are a lot of premade Asset in Curved Poly package. Choose one to start modeling!
Now that we have a Curved Poly model selected, all the tools become available. If you are using Curved Poly Shape Editor, only the first 3 tools are available instead.
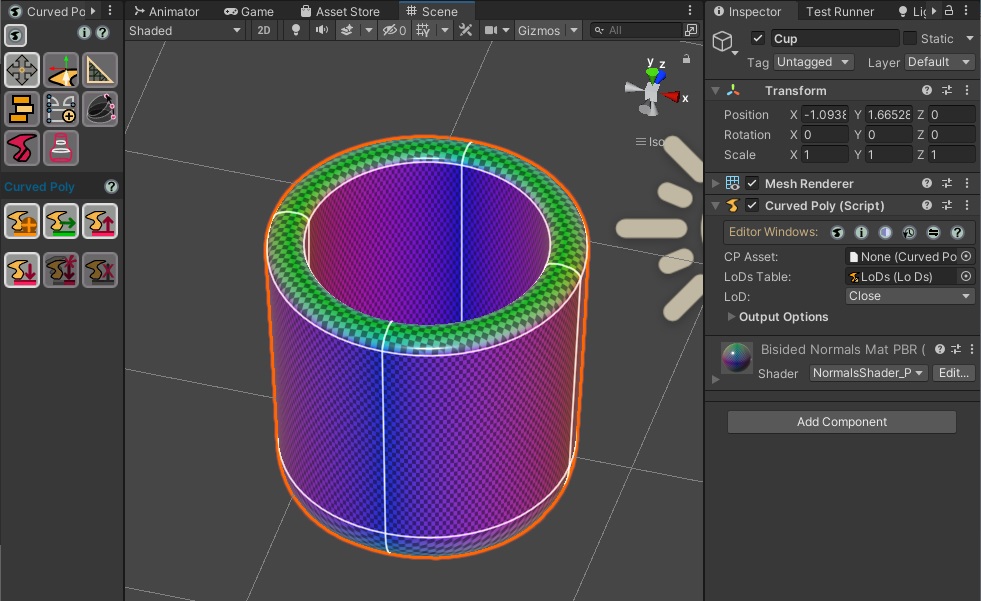
Fig. 4 Once a model is loaded, the other Tools Sets become available, depening on your Curved Poly version.
We can activate the Shape Tools. This is the tool to use when you want to edit the shape of a model. With this tool you can select different parts of it and change their position. For instance, make sure that the vertices option is active and click on one of the white cube standing for vertices in the scene. Here you have a Move Tool which can be used to change the position of a vertex. You can activate other vertices to modify other parts of the model.
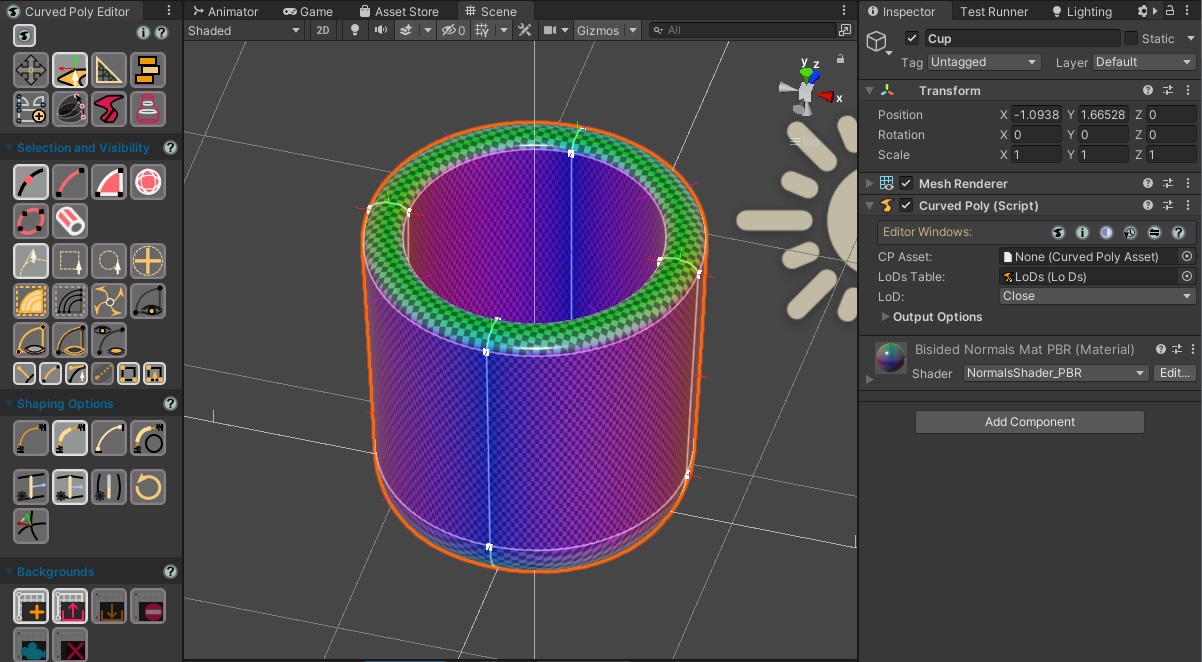
Fig. 5 If you press the the Shape Tools icon, the Editor will change and new tools will be offered to you.
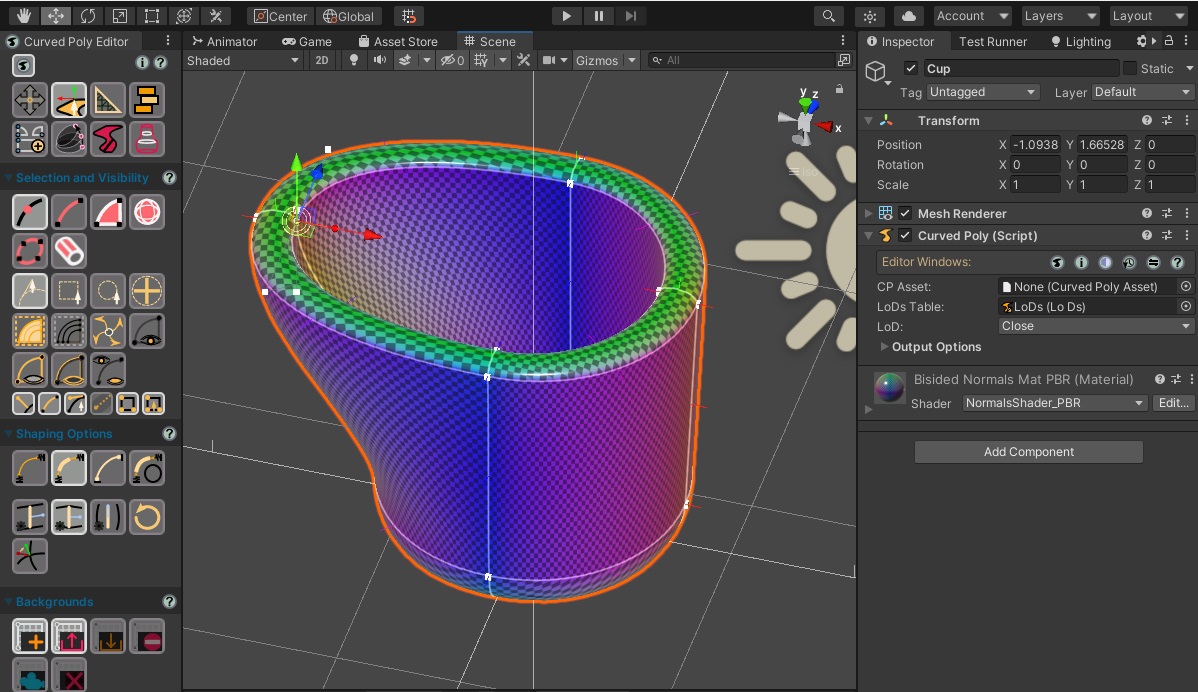
Fig. 6 With Shape Tools you can start changing the position of vertices and the shape of curves, giving your starting model a completely different look.
Just to see one more example, you can select a loop of vertices at once with Loops, change the Move Tool to Scale Tool.
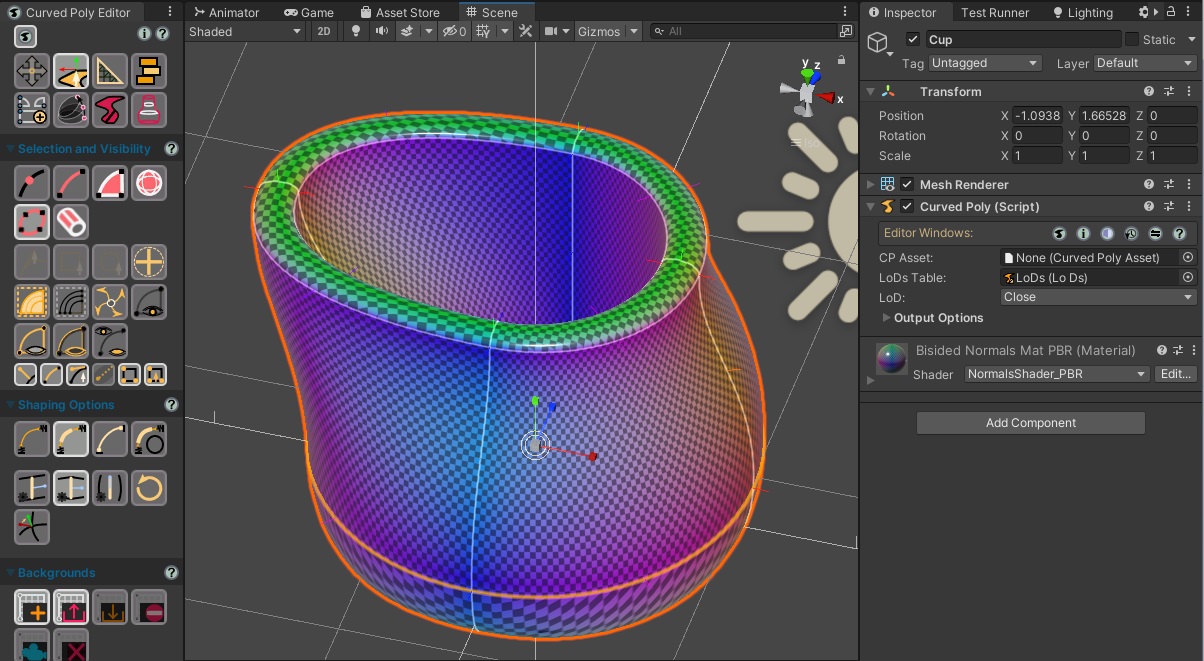
Fig. 7 Here we show the use of another of the many available selection mode in Shape Tools: with LoopS Mode selection you can select one loop of edges at once and then scale it with scaling tool.
When vertices move, the edges follow the movement. This is defined by the shaping options you can find here, which control the shape of the tool.
And you can see that the model is gaining a completely different shape from what we have started with.
While working with different tools, it is useful to access their full potential, through the dedicated inspector, which can be opened pressing the i button.
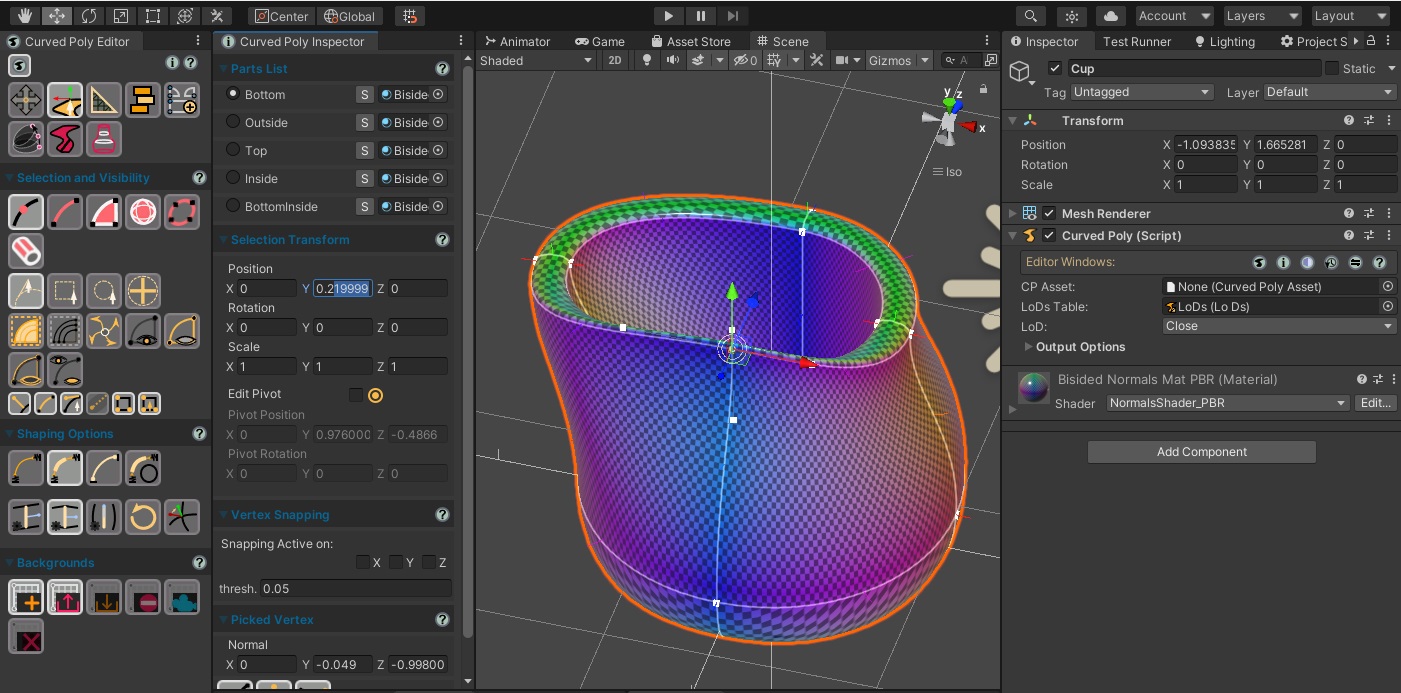
Fig. 8 You can open the Dedicated Inspector from the Tools->Curved Poly Menu, or from the Curved Poly Component, or from the Editor Window. You will definitely need it at some point if you want to have full control other Curved Poly features.
For instance, we can manually change the position of a vertex, using the Selection Transform section options.
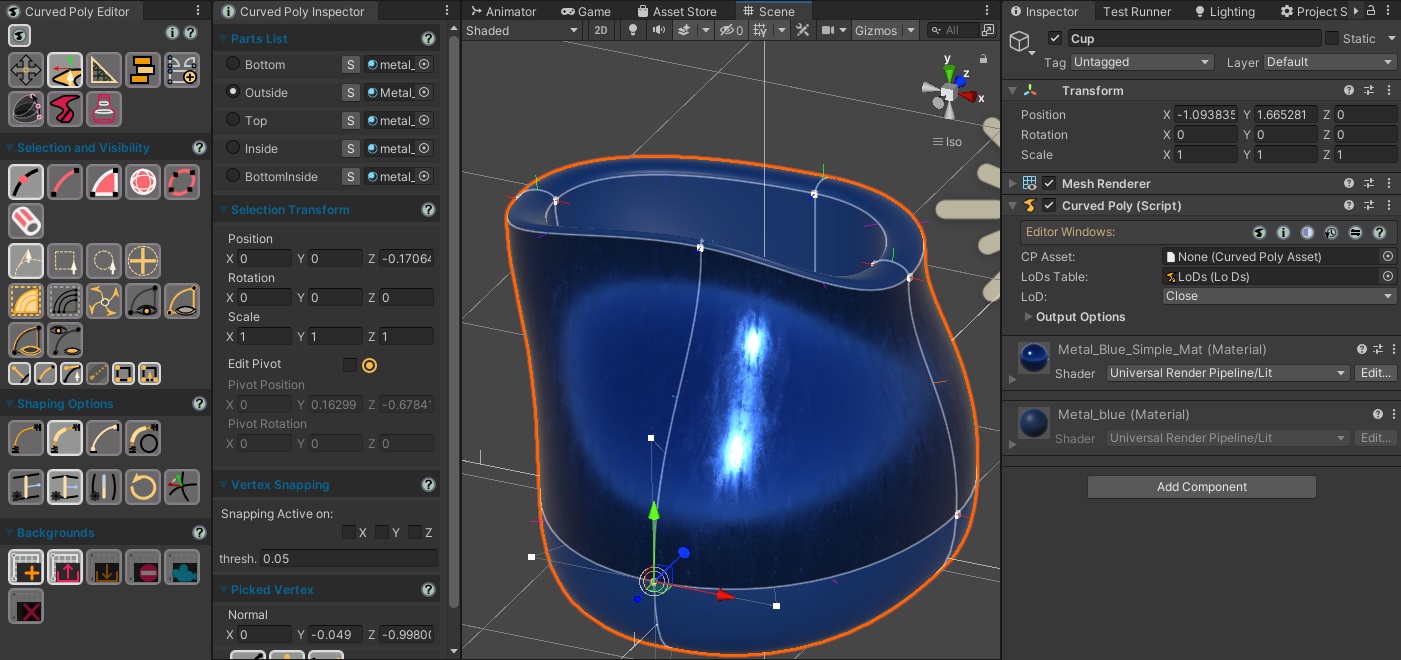
Fig. 9 With the parts list in the dedicated inspector we can easily interact with different parts of our model and, for example, assign to them different materials or give them different names.
Let's give it a more precise number. Or, we can change the materials used in each part of the model.
So, this was a fast glance at the editor. The rest of this guide will discuss every Tools set and every aspect of the Editor more in details.
<< Prev Next >>